Sunday, November 24, 2013

Perdana, Headlamp LED

 The previous post was HID, and I've promised you guys that I'd write up about LED in the near future, which will be in this post. LEDs are the future, LED saves power, yet gives better output as well.

Specifications are as per below :

1.Operates with 12V-24V Power Supply
2.Both hi/lo beam included for H4, single beam for other bulb types
3.1800 Lumens, 30% brighter than Halogen
4.Latest CREE COB technology, emitting lighting effects for light source output reach up to 146LM/W
5.Adopted latest EasyWhite skill, ensure the consistence of light color in terms of production and quality
6. Maximum Angle
7. Same beam pattern as halogens
8. 30% more distance for illumination
9. Integrated heat dissipation structure, reduce the thermal resistance, full heat dissipation by running fan
10.Plug and play for easy installation
11. Model: H4-3, H7, H8, H9, H10, H11, H16, 9005 (HB3), 9006 (HB4)
12. Power: 50W
13. Lumens (brightness): 1800LM
14. Chip: 2 CREE-CXA1512 chip
15. Color (Color): 5500K (White), 3700K (Yellowish)
16. Fan cooling, Solid aluminum, Military grade standard cooling
17. Low-voltage protection, high-precision constant current driver chip


 I had a few of these sets in recently with positive results :

 This is a h4 set, for my own usage. It's got a driver, waterproof sockets, proper 12000rpm fan for heat dissipation and also a safety feature where the light does not switch on when the fan stops working.


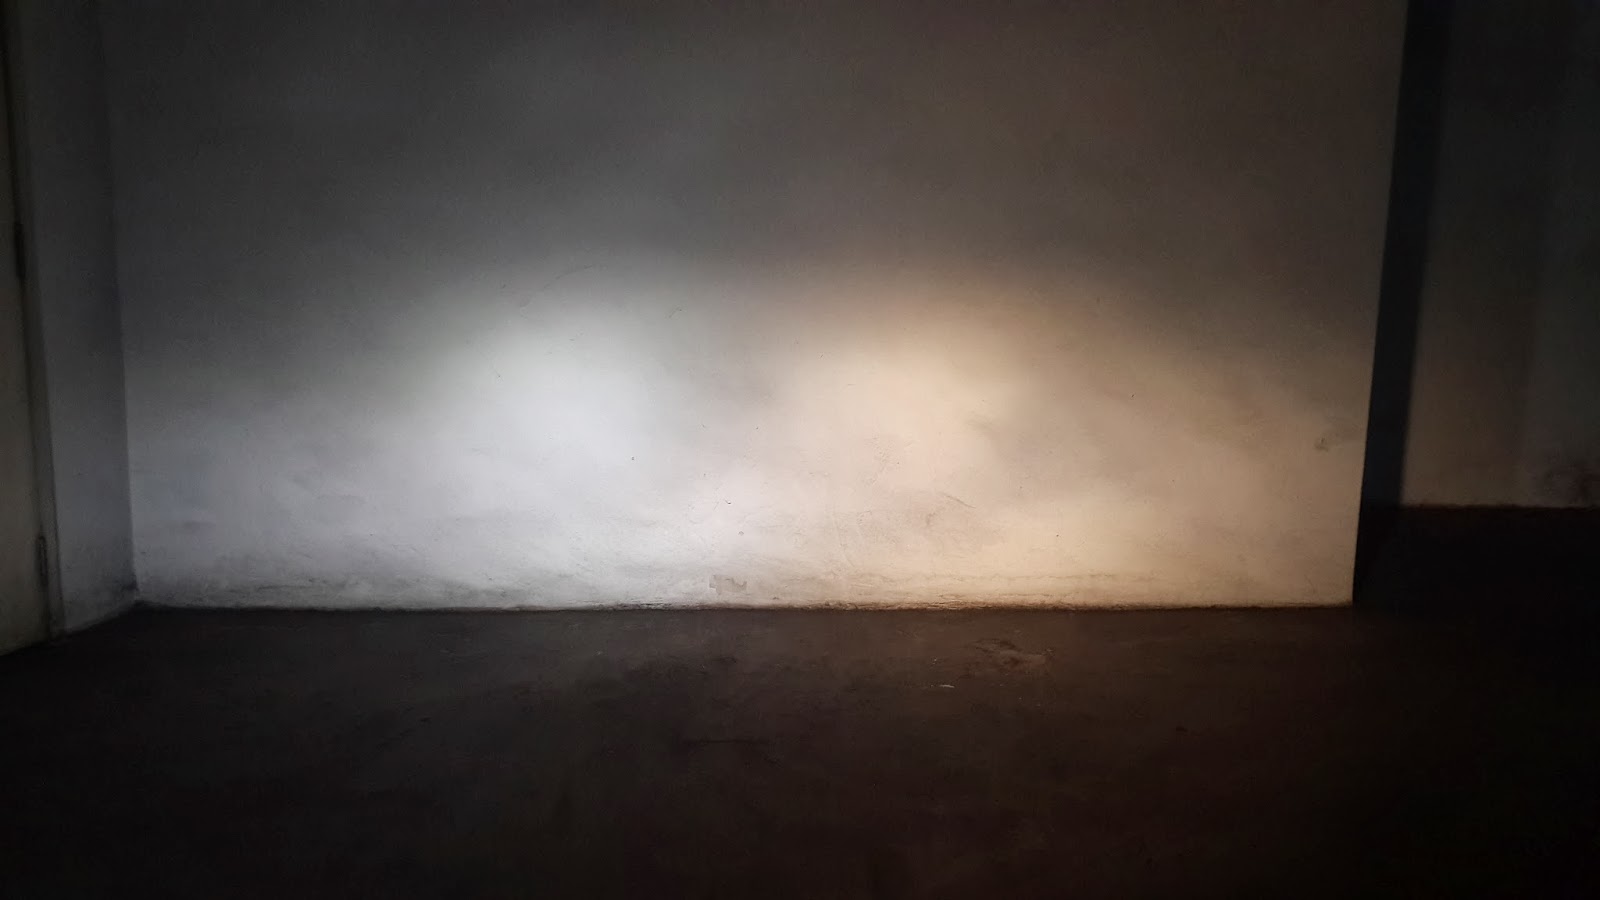
 Bench testing a 5500k high/low beam. This is High beam with both sides illuminated. The height of the light source is similar to a conventional h4 halogen bulb.


 Low beam, only one side lit up. The upper side.


 And this is a 3700K bulb, similar to the color of a halogen.


____________________________________________________________________________

Fitment and testing, Perdana

LED 5500k
HID      

From the above pics, these are comparisons of the recently installed HID vs LED. Not much glare.


 Low beam, HID vs LED. LED on the left. No cut off. However, the Perdana is known to have a real crappy reflector design, hence the funny output. This is proven when I installed a set on a Proton Saga SV yesterday. Pics will be in later.


HID High beam


LED High beam


 LED 5500k left, LED 3700K right.
Both low beam
 LED 5500k left, LED 3700k right.
Both high beam
 LED 5500k both sides, low beam
 LED 5500k both sides, high beam
Testing in basement.


______________________________________________________________________________

Fitment and testing, brand new Saga SV.

For this car, it uses two pieces of H7 bulb on each side, one for low beam and one for high beam :

 Right LED 5500K, Left Halogen. Low beam
 Right LED 5500K, Left Halogen
 Passenger side, halogen. Low beam
Driver side, LED installed. Low beam
 Right LED 5500K, Left Halogen. High beam
 Comparison, needless to say which is which


 High beam, halogen
 High beam, LED. It's not really glaring
 Cut off line for halogen
 Cut off line for LED. Slight adjustment will be needed to be done in order to get the proper height.


 Cut off line for Halogen, high beam
Cut off line for LED, high beam. Not really a cut off, but hey, a high beam is suppose to shine real far.


 I am so far satisfied with the product and have started selling these for RM350.00 per set, with 6 months warranty. You can look at the proper product, specifications and COD locations HERE


Cheers

Elton


Saturday, November 23, 2013

Teaser


A picture says a thousand words.


Just for the fun of it. Guys at the workshop wrapping up a Toyota 4AGZE extractor. Everyone's on it. Don't mind the fat boy back there eating! He's happy :')

Perdana, HID installed

Some of you may have remembered that I once posted on the various types of lights that was available in the market HERE

Two weeks ago, I stumbled upon a set of quite expensive set of hi/lo HID magnetic set in my warehouse which was bought a couple of years ago. So... backside itchy install lah

I did a bench test to ensure that all of it was working and had a visual inspection, making sure that there would be no chances of water damage or whatsoever.

Upon inspection, there was crack on certain items :


 From this picture you can see that this has a hi/lo controller. Iim not sure what't the lil box connected to the ballast though.

Bulbs were 6000k.

 Cracks on this box.


 Cracks again.


 So what i did, I open it up and stuffed it with sealant, just to make sure that water doesn't get in. It seems that it's still working.

 Bottom side, also stuffed with sealant. Looks stupid, I know. But I had to make-do with what I have.

 Cracks everywhere, sealed and held down until it was dry.


I clamped it for two hours as I got sick of holding it. No, it isn't a sex toy.


 Sealed it with transparent tape, and
 All wired up including power and ground. Removed the existing h4 Relay kit.


Testing. White, just like the DRLs.


 Low beam, look at the unwanted glare. As I said in my previous post, most HIDs are not perfect.
 High beam, doesn't look to bad.
And here... the crappy reflector design of the Perdana headlamp.


The output light of the headlamp wasn't well satisfying as I was only installing this for testing and researching purposes. It was white, 6000k. Either the HID output was not strong, OR, it was just the reflector design of the headlamp itself wasn't reflecting the beam properly.

I have already swapped them to LEDs, which will be in my next post. It's something good, stay tuned!


Cheers

Elton

Friday, November 22, 2013

Perdana, Interior Cleaned!

One thing I like about the Perdana I have not is the cream colored leather interior. Not black, not blue, not brown, but creamish, sleek, nice color. On top of that, it still smells of leather.

The painful part : it gets dirty easily.

 LOOK how dirty the seats are, after approximately ten years of usage. Only a handful of drivers can differenciate when it was totally clean. These seats get dirty over time, gradually. That is why car owners don't see much of a difference.... until it's cleaned.


 The door panel, dirty leather too. Yeah, I've black hands half the time.


 Driver's seat, arm rest and passenger seat, all BLACK.


This calls for some interior cleaning. The dashboard is also all dried up over years of parking under the sun from time to time. This time round, I contacted Dennis of Denskiro Automotive Works again to take up the job.


 Before and after, notice the difference. All stubborn stain cleaned with Meguiar's products. The seat was masked off in half. Makes cleaning easier as you don't want to not be able to see the difference before and after cleaning.


 Door panel leather portion was also cleaned.
This panel is 17 years old.


 Dashboard area coated also with M's product. It's all shiny, glossy and moist now, no oily feel!


 Another shot of the seat cleaned after.


 Both seats along with arm rest cleaned. The brown pipes along the seats makes the entire interior look more distinctive now.

I collected the car and saw the difference in color of the entire interior. It seems that Dennis not only coated the dashboard and door trims, but also the door sills and pillar. He also worked his way outside the car, taking things a step further by coating and reconditioning the wiper link cover which is located outside the car just below the front windscreen.
The smell of the leather was also much stronger than it used to be.

Remember. With our weather, it is important to keep the dashboard coated. You don;t want it drying up, wrinkling and "pulling". The same goes for leather, pvc and any other materials.


Dennis now does auto detailing, interior cleaning, steam cleaning along with other jobs where an auto detailer does. Kidnly contact him HERE for pricing and enquiries.


Cheers

Elton